Selling a hondition of the inspection port septic tank to total system capacity—you can address minor issues proactively.
This guide will walk you through the essential steome is stressful enough without the fear of a hidden plumbing issue delaying your closing date. To pass your real estate inspection smoothly, you need an accurate septic tank inspection checklist to ensure your system is fully prepared before the technician arrives. A thorough evaluation verifies that your tank, lines, and drain field inspection points are functioning safely and structurally sound.
Failing to prepare for this review can lead to escrow delays, costly last-minute repairs, or even a collapsed property sale. By understanding exactly what inspectors look for—from the cps to prepare your property, what to expect during the technician's visit, and how to keep your sale on track. Let's dive into how you can get your system market-ready.
Why a Septic Tank Inspection Checklist Matters for Home Sellers
A real estate septic evaluation is a comprehensive assessment that verifies your wastewater system is structurally sound and operating safely. When preparing your property for the market, an inspector uses a specialized septic tank inspection checklist to evaluate everything from tank sludge levels to the functional health of the absorption area.
This physical review ensures that wastewater flows smoothly out of the home, gets processed correctly in the tank, and distributes safely into the soil without surfacing or causing backups.
For home sellers, this process carries major financial and legal weight. A failed inspection can derail a pending sale, force price renegotiations, or saddle you with expensive, unexpected replacement costs right before closing. To avoid these setbacks, smart homeowners utilize a comprehensive septic system inspection checklist ahead of time.
This proactive step helps you identify minor operational issues—such as cracked lids, worn baffles, or sluggish drainage—before they become deal-breakers for a potential buyer.
By working through a septic system maintenance checklist and gathering your system's historical records early, you protect your escrow timeline and gain distinct advantages:
- Complete Transaction Transparency: Providing a clean report builds immediate trust with buyers and prevents stressful last-minute repair negotiations.
- Protection Against Liability: Documenting the true functional state of your system shields you from post-sale structural disputes.
- Cost Control: Catching a minor issue early allows you to schedule routine septic tank pumping and cleaning on your own terms, rather than paying for emergency repairs during a tight closing window.
A common misconception is that a system is perfectly fine just because the toilets are flushing normally today. However, underground issues like a failing drain field or a damaged outlet baffle often remain completely hidden until a professional inspector runs a full stress test. Understanding what tools and steps are involved in this review is the best way to ensure your property passes with flying colors.
Step-by-Step Guide: Preparing Your System for a Septic Tank Inspection Checklist Review
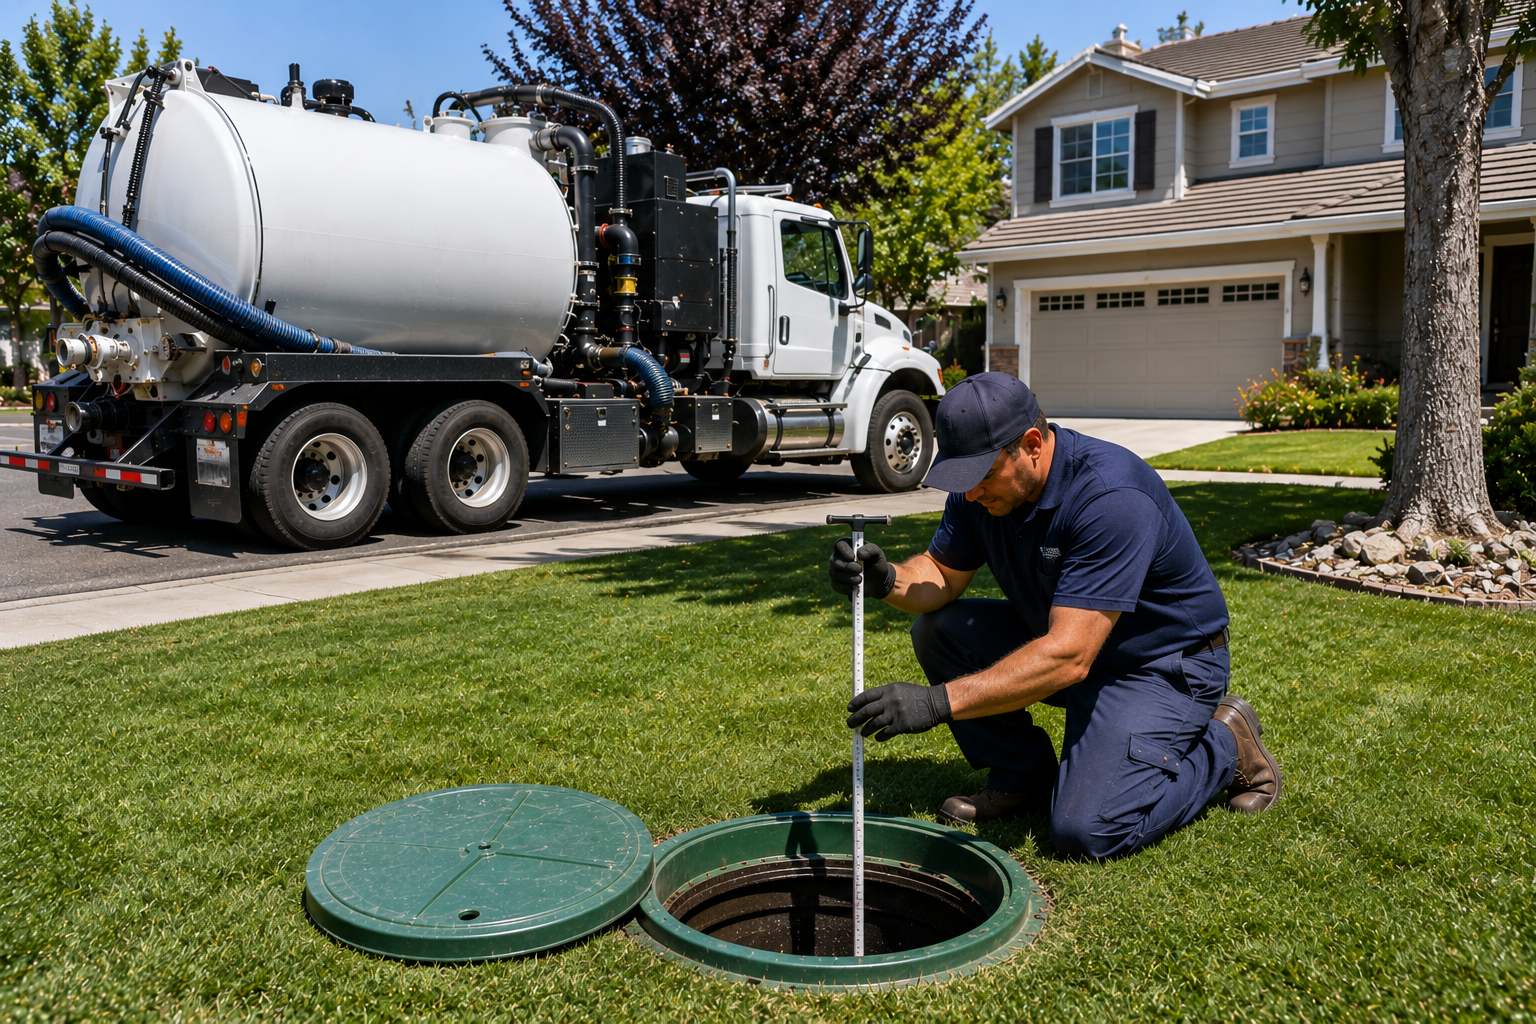
Setting your real estate transaction up for success means understanding exactly how a technician evaluates your property. During a professional evaluation, the inspector doesn't just look at the surface; they use specialized septic inspection tools like electronic locators, fiber-optic cameras, and sludge measuring probes to assess the entire infrastructure.
By checking these core components ahead of time against a standard septic tank inspection checklist, you can resolve simple access or operational problems before the official test begins.
A standard county or state evaluation requires a clear view of your tank's internal health and structural stability. To get a professional, worry-free evaluation on the books, scheduling a certified real estate septic system inspection with a full report ensures that both you and your buyer have legally compliant, completely transparent documentation of the system's true working status.
1. Locate and Clear Access to the Tank Lids
An inspector cannot check your system if they cannot find or reach it. Technicians need direct access to the main underground ports to examine the internal components and execute a proper hydraulic water test.
- Find your components: Review your property's original plot map or septic permit to pinpoint the exact location of the main tank.
- Clear the area: Clear away dense lawn overgrowth, heavy decorative rocks, wood chips, or dirt covering the primary access lids.
- Check your risers: If your lids are buried deep underground, it is highly recommended to look into professional septic risers and lid installation ahead of time. Bringing the access points up to ground level makes the inspection faster, cleaner, and much more budget-friendly for future servicing.
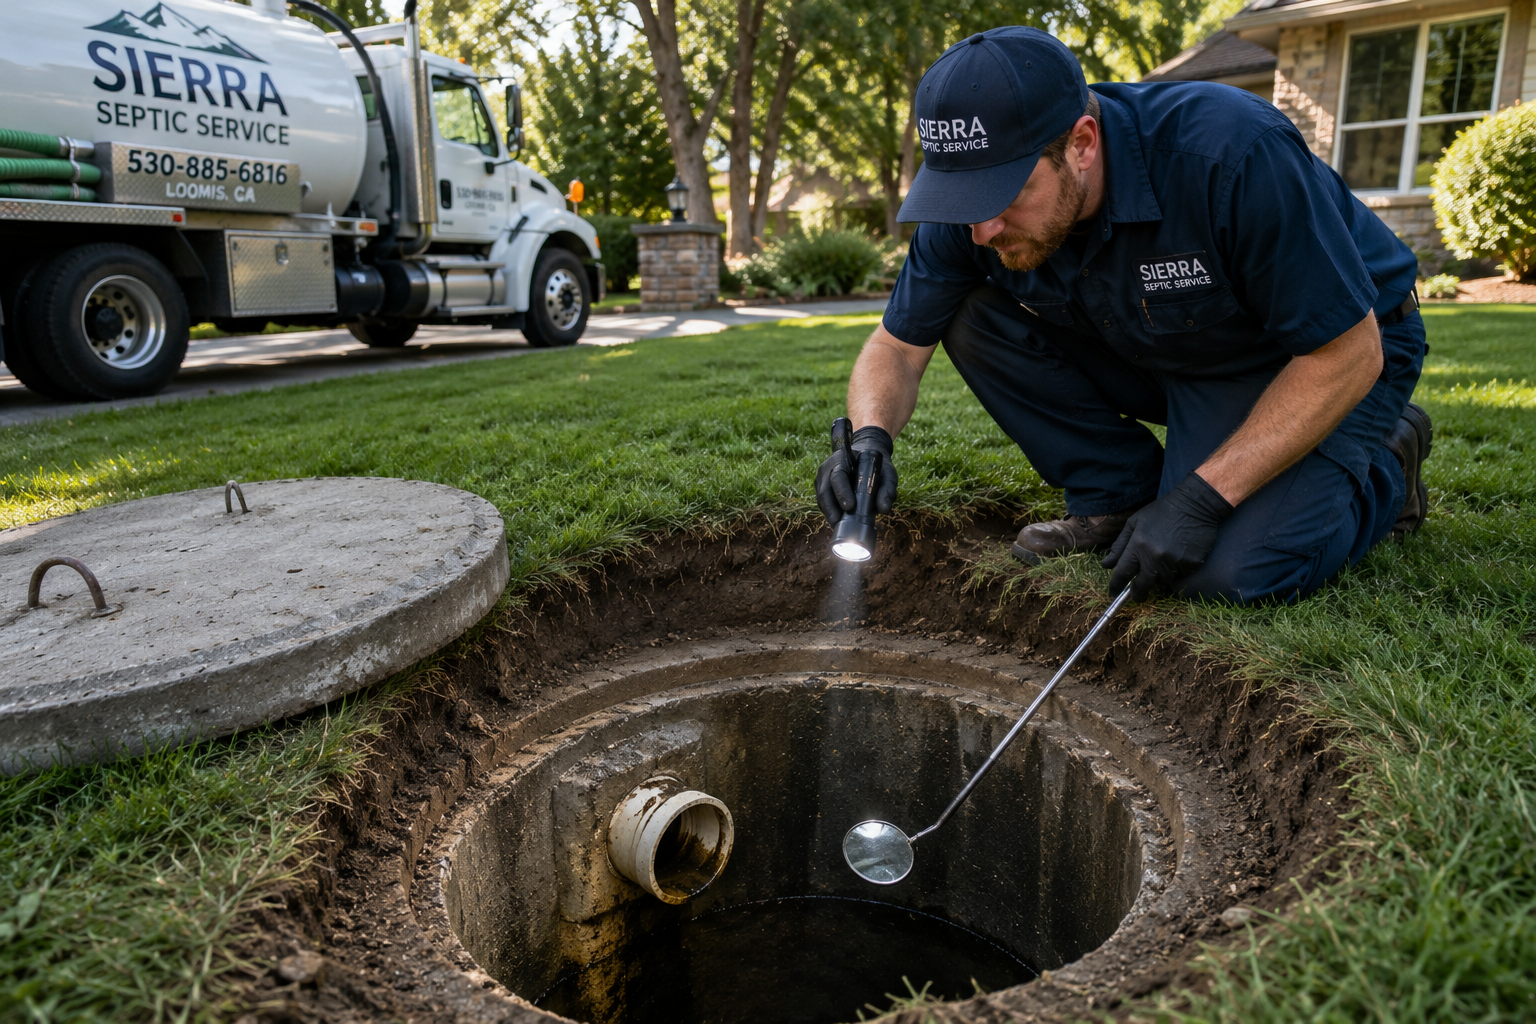
2. Prepare the Inspection Ports and Baffles
Every modern code-compliant tank features an inspection port septic tank opening directly above the inlet and outlet zones. These openings allow the evaluator to check the integrity of the concrete or plastic walls and verify that wastewater is flowing in the right direction without restriction.
- Examine the inspection openings: Ensure the secondary septic tank inspection port plugs or caps are not cracked, sealed shut by concrete, or blocked by tree roots.
- Verify baffle condition: The inspector will look down into these ports to ensure the structural baffles are securely attached. Baffles prevent floating scum layers from traveling out of the main chamber and entering your ground absorption lines.
3. Assess the Health of Your Drain Field
The absorption area is the most critical and expensive part of your infrastructure. A meticulous drain field inspection checks the surrounding soil for signs of hydraulic stress or structural failure.
- Look for surface warning signs: Walk your yard and check for overly lush, bright green patches of grass directly over the trenches, muddy patches, or standing water accompanied by sulfur-like odors.
- Remove surface obstructions: Ensure no heavy vehicles, boats, sheds, or temporary pools are parked over the absorption trenches. Soil compaction caused by heavy weight can crush underlying pipes and completely ruin your absorption capacity.
4. Gather Maintenance and Pumping History
A flawless physical check is only half the battle; paper records provide the context inspectors need to complete a final septic inspection report template accurately.
- Compile your receipts: Put together a folder containing your system’s permitting records, mapping diagrams, and previous pumping receipts.
- Show consistent care: Showing that you have maintained a consistent septic system maintenance checklist proves to the inspector—and the buyer's agent—that the home has been responsibly cared for over the years, reducing the likelihood of unexpected scrutiny.
Pro Tip for Sellers: Avoid pumping your tank immediately before the inspector arrives just to make it look clean. A proper hydraulic test requires the tank to be at its normal operating level so the inspector can watch how the water flows into the absorption area. If you pump it empty right before the appointment, the inspector may have to schedule a costly follow-up visit to finish the test.
Real-World Examples: How Homeowners Put This Checklist Into Action
Preparing your home for sale goes smoothly when you address the details before a prospective buyer requests an inspection report. Here is how local property owners successfully navigated the process using a professional septic tank inspection checklist.
- Avoiding Unexpected Delays in Loomis: A family listing their Loomis home wanted to verify their waste system was market-ready without risking an escrow delay. They utilized a septic system inspection checklist to evaluate their yard and noticed their underground covers were completely buried under several inches of hard-packed soil.
They scheduled a professional tank locating and outlet baffle replacement to find the exact perimeter and fix a cracked structural seal before listing. As a result, the subsequent buyer's official evaluation passed in under an hour with zero flags.
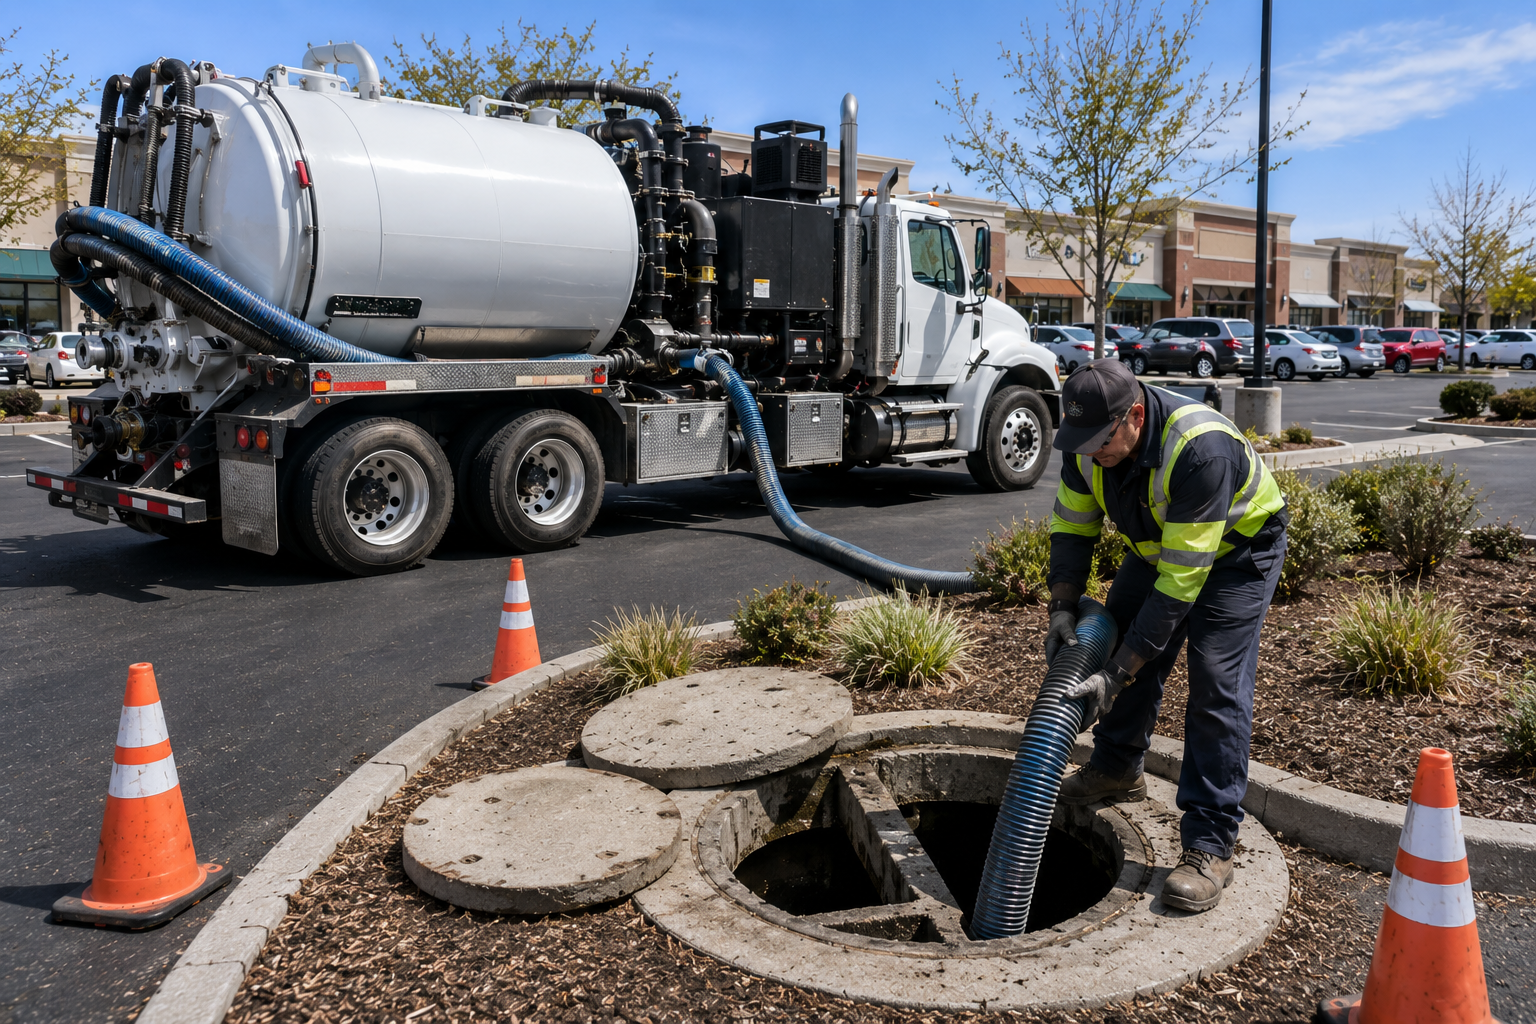
- Proactive Repairs Protect a Sale in Folsom: An owner selling a commercial rental property in Folsom needed to verify that their underground wastewater components were operating reliably under heavy usage.
During a pre-listing assessment, the technician performed a thorough drain field inspection and found minor root intrusion near the soil treatment zone. By catching the blockages early, the owner cleared the line and provided a clean, certified transfer document to the buyer at closing.
Following these straightforward preparatory steps ensures you can handle the real estate process confidently. Taking a proactive approach removes the guesswork and protects your investment from start to finish.
Expert Tips for a Flawless Septic Tank Inspection Checklist Review
Reviewing your preparation strategy ensures you do not overlook minor details that could impact your final evaluation. Incorporating a few industry best practices can mean the difference between a flagged report and a flawless, stress-free property transfer.
- Do Not Use Excessive Water Before the Test: Minimize heavy water usage from washing machines and showers for 48 hours before the inspection. This allows the inspector to accurately complete their septic tank inspection checklist evaluation without a temporarily overloaded system skewing the results of the hydraulic water test.
- Keep Your Pump-Out Records On Hand: Providing documented history shifts the evaluation from a guessing game to a verifiable routine. Handing the technician a clear septic system maintenance checklist history proves you have actively maintained the property and prevents unnecessary structural deeper dives.
- Clear the Path to All Auxiliary Components: Ensure components like your pump chamber or advanced treatment units are fully accessible. If your home sits on an incline and relies on a pressurized system, clearing brush from your specialized lift station pumping access points keeps the inspector's workflow moving efficiently.
- Visually Inspect Your Own Ports Early: Pop off the green or white PVC caps on your septic tank inspection port before the technician arrives. Checking for clear standing water or blockages lets you spot back-ups privately, allowing you to fix a minor clog before it is permanently documented on a public septic inspection report template.
Taking the time to refine these final details maximizes your preparation and protects your transaction. A well-prepared property ensures a fast, accurate review that keeps your real estate goals completely on track.
Final Steps: Complete Your Septic Tank Inspection Checklist with Confidence
Navigating a real estate transaction requires careful planning, and preparing your wastewater system is a vital part of that process. By reviewing a professional septic tank inspection checklist ahead of time, you can locate your underground components, ensure clear access to the inspection port septic tank, and identify potential field issues early. This straightforward preparation removes the anxiety from the process and keeps your escrow moving forward without unexpected structural surprises.
Taking a proactive approach to your home's waste management system ensures a smoother property transfer and builds lasting trust with your potential buyer. Instead of worrying about what an inspector might uncover, you can confidently present a well-maintained, market-ready system that protects your financial investment.
When you are ready to list your home or satisfy a buyer's contingency, do not leave your compliance report to chance. Contact the team of non-commissioned experts at Blue Ribbon Septic today to schedule your comprehensive real estate septic system inspection and secure a transparent, reliable evaluation you can trust.
Frequently Asked Questions About the Septic Tank Inspection Checklist
What happens if my system fails a septic tank inspection checklist review?
If a technician flags an issue on your septic tank inspection checklist, it typically means a component is damaged or the soil isn't absorbing water properly. You will receive an official septic inspection report template detailing the failures, such as a broken baffle or a sluggish drain field inspection result. Discovering this early allows you to address the required repairs before it delays your escrow closing.
How do inspectors test the system using septic inspection tools?
Inspectors use specialized septic inspection tools like electronic transmitters to locate buried lids, fiber-optic cameras to check pipe structural integrity, and sludge probes to measure waste levels. They also perform a hydraulic load test by running water throughout the home to verify that flow moves safely through the inspection port septic tank and out to the disposal field without backing up.
Can I pump my tank right before the real estate inspection?
It is best not to pump your tank right before an evaluator arrives. A proper hydraulic performance test requires the tank to be filled to its normal operating level. If it is completely empty, the inspector cannot witness how wastewater flows through the septic tank inspection port and into the soil trenches. If a pump-out is needed, the technician will usually perform it at the end of the physical review.
How can I make my system easier for a technician to inspect?
The best way to simplify the process is to provide unobstructed physical and informational access. Clear away dirt, weeds, or heavy debris from your underground covers and the secondary septic tank inspection port caps. Having your historical paperwork ready, including your past septic system maintenance checklist receipts, gives the inspector immediate context and speeds up the official reporting process.